Gravel bike trips: the essential kit list!
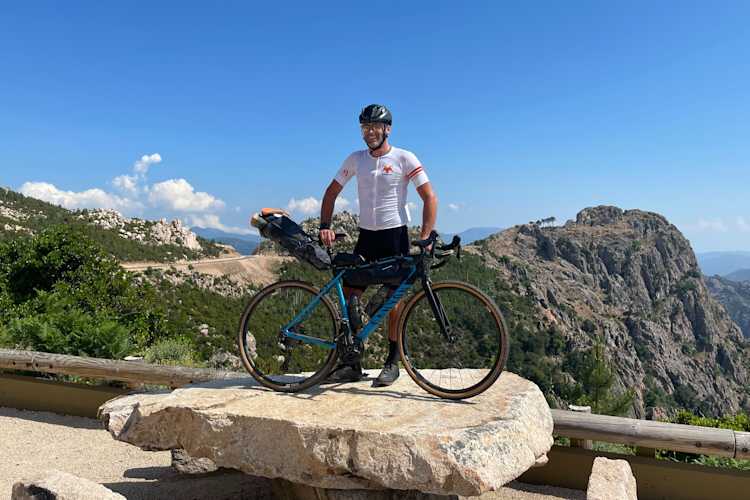
What are the essentials you’ll need on a multi day bike trip, what can you leave at home and what are the little luxuries that can make all the difference? We’ll run through all the kit you’ll need for a non camping bike trip in this article, so you can get planning and exploring with confidence!
Bike-packing has become more and more popular, and with good reason. It’s a great way to explore somewhere new, be active (with an insatiable appetite for testing all the local delicacies) and also have the time to appreciate nature and the great outdoors. A gravel bike plus panniers = freedom!
Fuel for your ride
Staying hydrated - water
The golden rule - plant and think ahead! When you’re on an adventure you don’t always know when/where you’ll next find water. In France we are spoilt with water fountains in most villages, but in other countries you may need to rely on shops and cafes etc, which of course need to be open!
You’ve got 2 options for carrying water:
Water bottles
- You can carry 2 bottles within the frame of your bike, opt for the largest you can, though this isn’t always easy if you have a small bike. You can also add bottle holders on the handlebars and behind your saddle, triathlon style, or a third underneath the down-tube.
A water bladder
- a solution to carry more water that allows you to drink more easily than bottles, allowing you to keep your hands on the handlebars and deal with the trail ahead. The pouch can be slotted into a back or hip pack if you have one, or a pannier bag. A really good solution if you have a frame bag on your bike in the space for bottle cages or a small frame.
To decide which will suit you best theres no real shortcuts you just have to try! If you’ll be going somewhere fairly remote you can also take a water filtration system or purification tablets to purify the water you’ll find en route.
Maintaining energy - food
What to eat during your days riding, that is the question. Even though the intensity of effort needed on a longer bike trip isn’t always high, you’ll be using energy all day long so you will need fuel, which means you need to eat!
You can carry some energy bars with you, as well as dried fruits, nuts and seeds - all easy to transport and they don’t mind the heat. Plan ahead as to where you’ll be able to restock your supplies, as an energy low, otherwise known as “bonking”, can come on fast.
You’ll crave savoury snacks too, so when you can grab some bread and cheese and fresh fruit for a quick picnic to maintain your energy levels longer. One of the joys of a bike trip is trying all the local things you can get your hands on. If you are riding in hot weather you’ll be losing salts, so drink some electrolytes with your water, or make your own energy drink with half fruit juice, half water and some salt.
How to carry your kit

What to choose for your bike trip ?
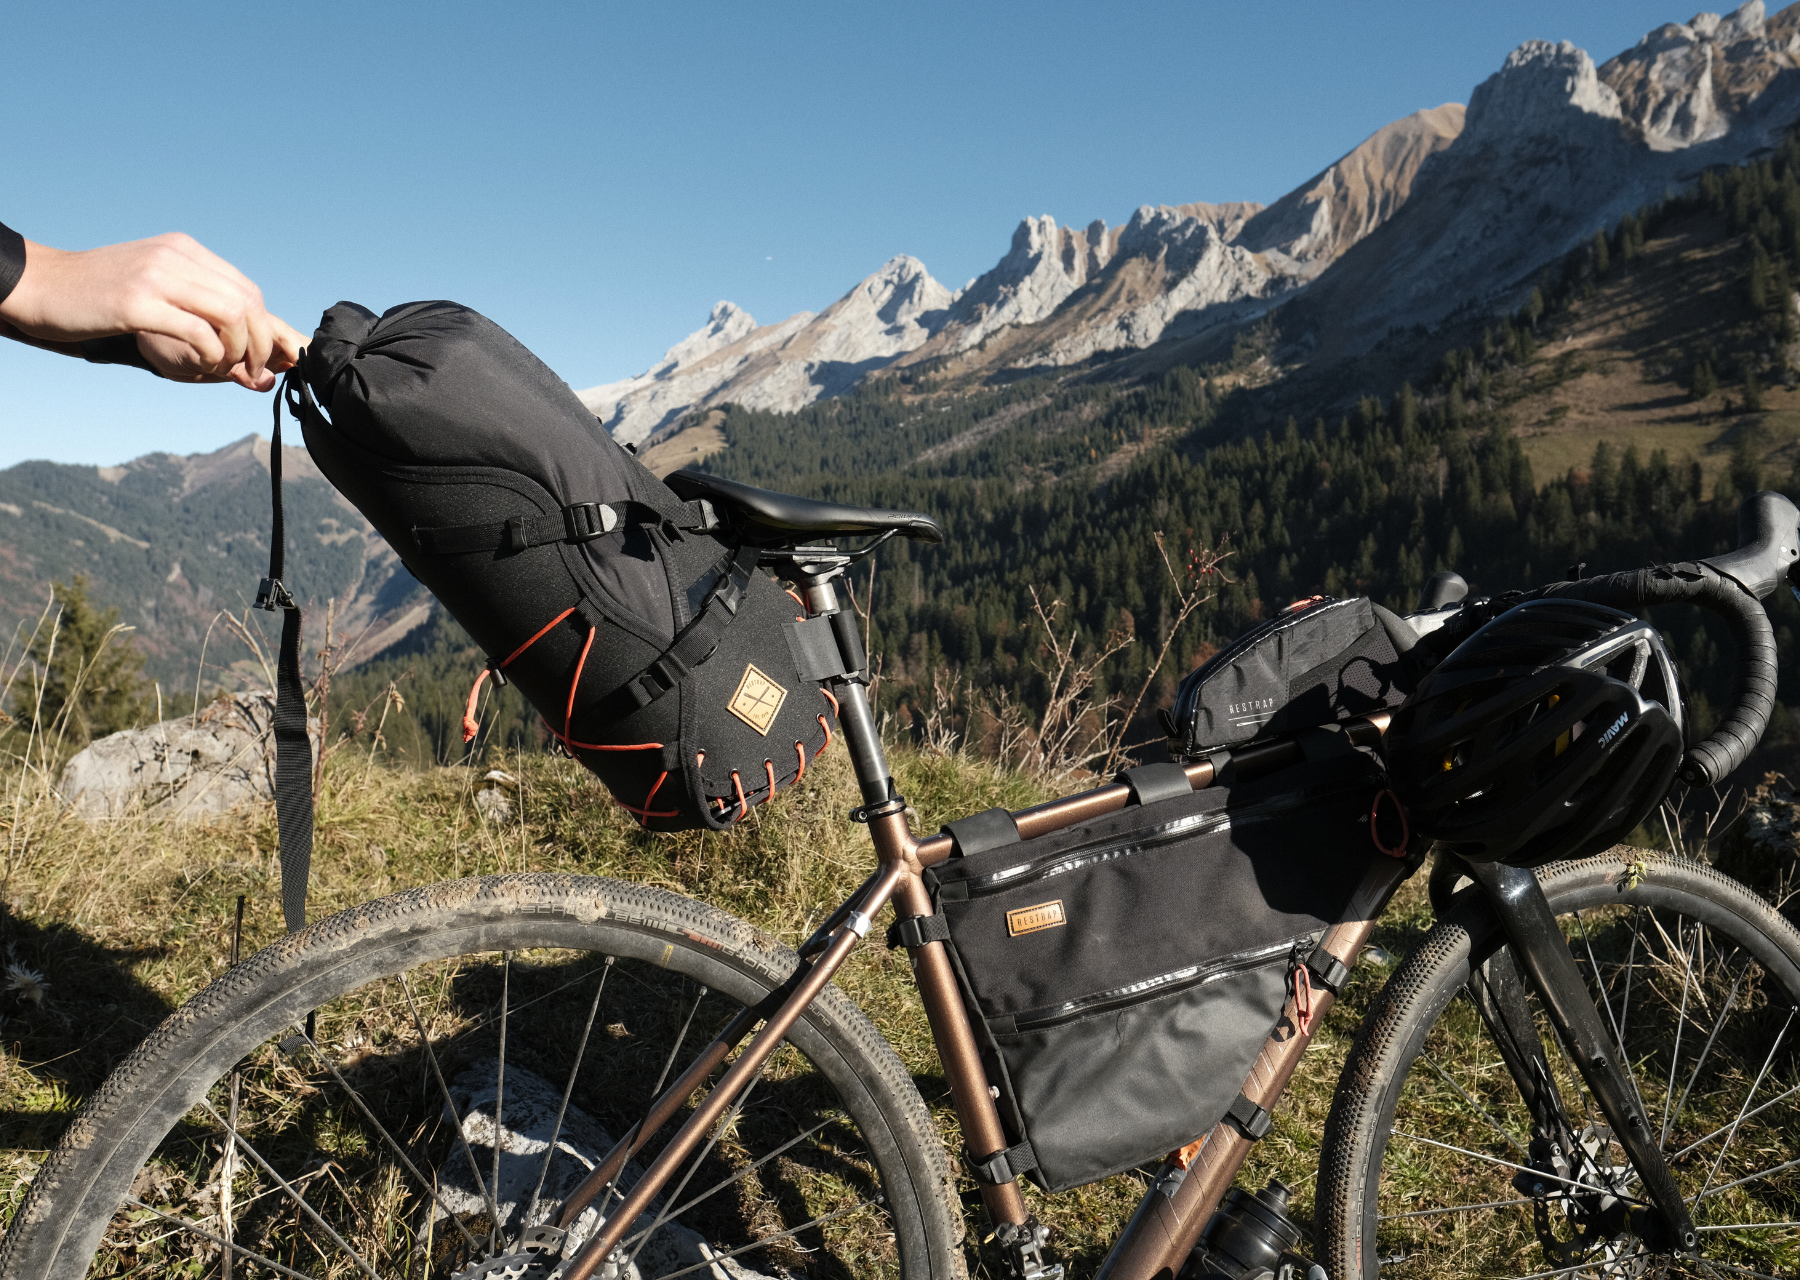
Let’s dive in to this uber important question, where theres a sometimes overwhelming range of choices to make, how to carry your kit! There’s an enormous range of bags, large, small and anywhere in between, that you can attach to almost anywhere on your bike, whether you have fixing points built into your frame or not. If you’re adhering to “Light is Right”, then you’ll want a large saddle bag, a frame bag and a handlebar bag. If you’ll need more kit/clothing to deal with cold temps, or are going for an extended trip you might opt for waterproof panniers on a rack over the back wheel, as well as attached to your front forks.
Whichever you choose, make sure your bags are waterproof and robust, with easy access to your kit. The sizes you choose will depend on how much you need to take with you and how long you are going for. Aim to spread the load across your bike for the best bike handling possible - often overloading the back wheel or having too much weight high on the handlebars can make any technical sections more challenging.
Theres a few different ways you can attach everything to keep it nice and stable:
Flexible straps like from Restrap.
Saddlebag stabilisers like from Woho.
Pannier racks like from Blackburn.
Then you’ll need bags to attach! Here’s our favourites -Restrap, Apidura and Ortlieb.

What to put in your bags?!
You’ll want to put heavy things as close to the frame as possible, with bulkier items where you can fit them! On a drop bar gravel bike, access to the handle bar bag isn’t always easy so pack anything you might need during the day (like waterproofs!) last in your saddle bag so you can get them out easily if needed. Overnight kit and clothes can be packed away in less accessible places. It’ll take you a bit of time to pack everything to start with - practice makes perfect!
You can be organised by giving each bag a theme - one bag for food, one for clothes, one for your repair and first aid kit, chargers and cables, and finally somewhere safe and accessible for your money and ID etc.
Must have kit for your bike trip
What clothing to take with you?
Good quality kit is essential for your comfort and max fun on your trip, but there’s no need to take your entire wardrobe. Choose with care clothes that are lightweight and versatile, that can be easily layered and will dry quickly.
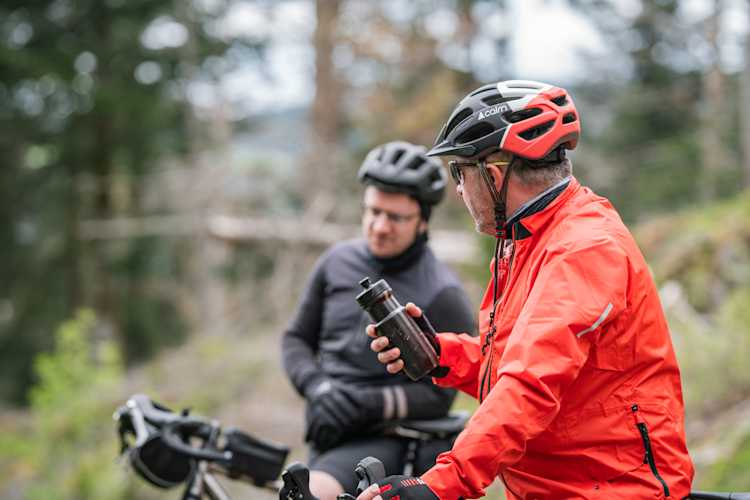
Your base outfit will be a bike jersey or t shirt, with padded bike shorts for all day comfort in the saddle. Next you’ll want a layer or two that you can easily add, like long sleeves for those cool mornings or long descents and a windshell/waterproof in case the weather comes in. Then you’ll need gloves (with some padding for your palms for comfort) and a cap or buff than can protect you from the sun and help keep you warm. Lastly you need to look after your feet, so choose some good quality socks that won’t rub (many a trip has been ruined by blisters!) and a pair of bike shoes that you can easily walk in, in case the trail is too technical or you want to explore off the bike too. Don’t forget a comfy helmet with lots of air vents!
Here’s a handy kit list to help you refine your packing:
2 pairs of bike shorts
2 jerseys or breathable t shorts
1 evening t shirt
1 warm layer - thickness will depending on the time of year!
2 pairs of socks
A pair of bike shoes, with flip-flops or sliders if needed
A thin windshell
A waterproof jacket
A cap
A buff and gloves
A helmet
A long sleeved thermal base layer
Leggings or thermals for the evenings.
Sunglasses!
Safety kit
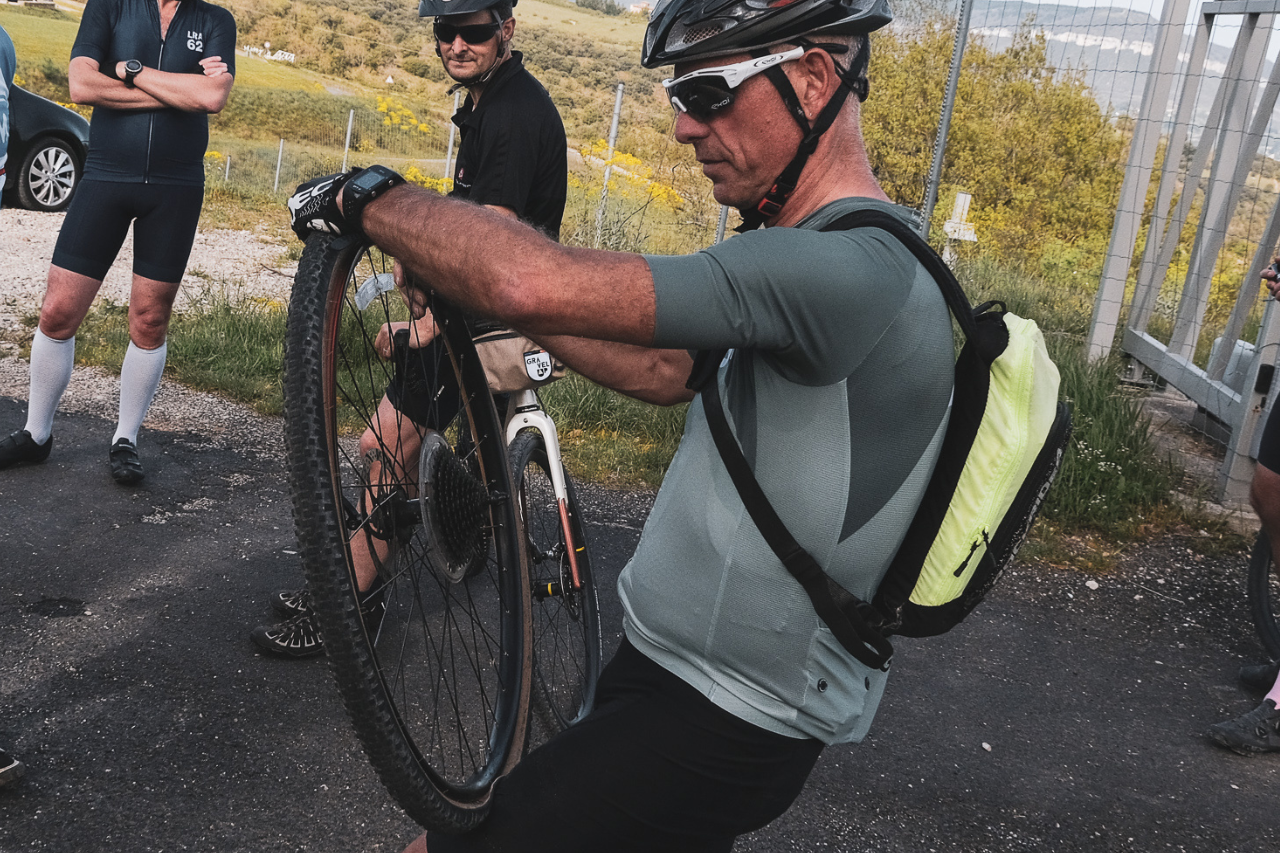
What will you need to fix your bike?
You’ll need some tools and spares to be able to deal with an mechanicals you might encounter on your trip. As a minimum you’ll need - a multitool with a chain breaker and chain quick link, a few cable ties (super useful!), a small pump, 3 tyre levers, an inner tube and puncture patches.
A word of advice - if you are heading off on your own or without a guide, practice repairing punctures and fixing a chain at home so that you know what to do if it happens when you are in the middle of nowhere without phone signal for google!
How to be seen?
This is super important on a bike trip as you never know when you’ll find yourself riding in low light - even if you don’t plan to ride at night you might encounter tunnels, fog, mechanicals, diversions… you never know! Remember you need to see AND be seen.
There’s a massive choice of lights for your bike, with all different strengths and recharging capabilities. As a minimum you’ll need a red rear light and a head torch, with the option to add a front light on your handlebars too for better visibility. Lights can be recharged by a dynamo (while you pedal!) or an external battery and sockets when you have cafe stops or overnight. You can decide which suits you best, and you’ll want at least 800 lumens to see at night.
GPS bike computers
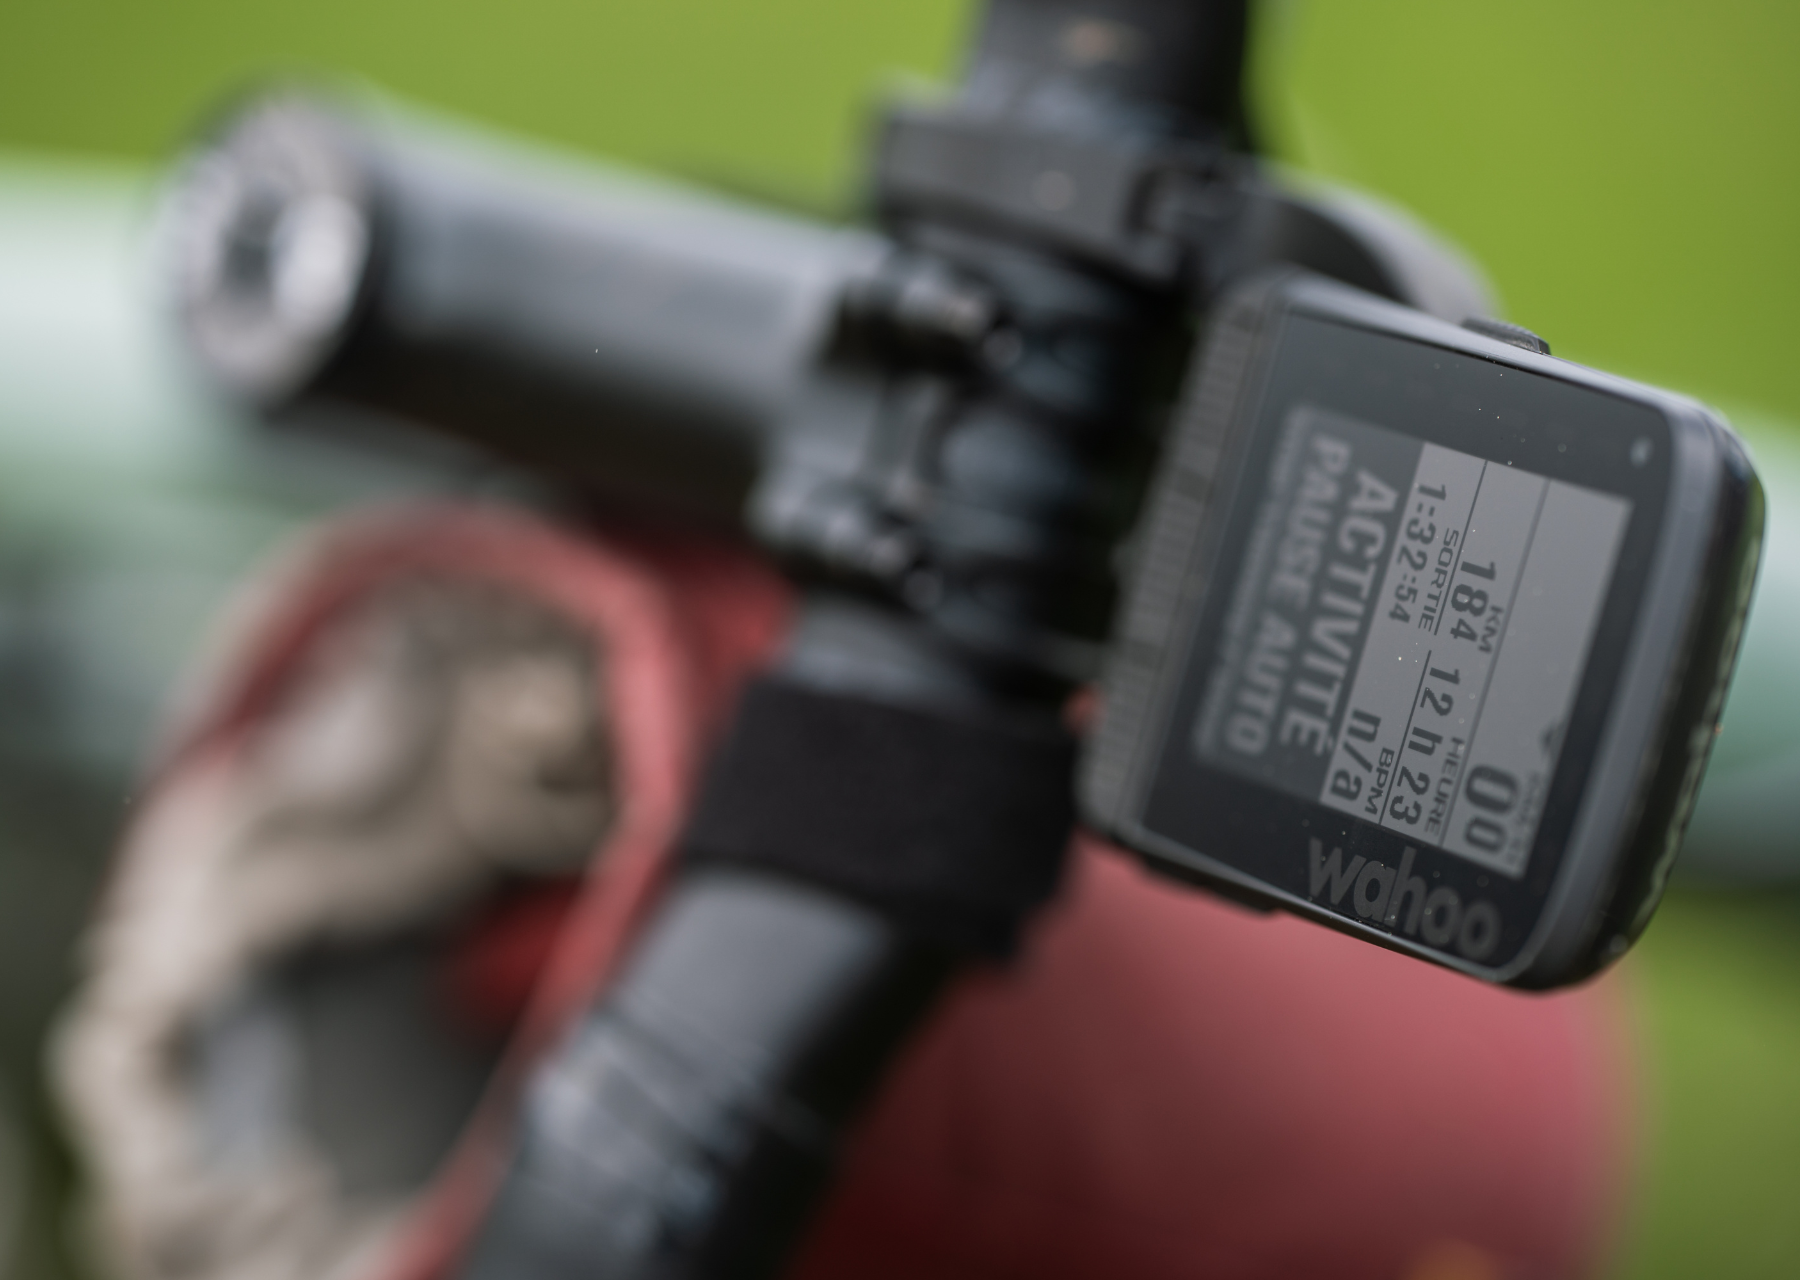
How to navigate on your bike trip?
Gone are the days of paper maps - the easiest way to navigate whilst riding is via GPS with a preloaded route to follow. A dedicated bike computer will also record your ride and its stats like your moving time, average speed, distance ridden and metres climbed etc. It will do a lot more than getting you from A to B!
Before you start searching for a route to ride, take a moment to think about what you’d like to get out of your trip and your fitness level, as it’s supposed to be enjoyable! Maybe a family friendly ride, a challenging route or an adventure into the unknown.. the world is your oyster!
You can find lots of GPS advice in our recent article “How to create a great bike route.”
To avoid any nasty surprises as far as possible on your trip, prepare like you are starting the Tour de France! Have a dry run with all your kit on your bike and go for a day ride, taking the time to move things around as needed, and be honest with yourself about what layers and kit you actually need.
Guided bike trips
And if you don’t fancy all the faff, or don’t have time for all the planning and just want to get out there riding and exploring, join one of our guided group trips!

